
Choose a settlement model
The first technical decision in your POS setup is how the merchant account settles funds. This choice determines whether your business holds digital assets or receives traditional currency.
Auto-conversion to fiat
In this model, the customer pays in stablecoins (such as USDC or USDT), and the payment processor immediately swaps the assets for USD, EUR, or another local fiat currency before depositing it into your bank account. This is the most common method for brick-and-mortar retail.
The primary advantage is risk elimination. You are insulated from the volatility of the crypto market and the regulatory complexities of holding digital assets on your balance sheet. Your accounting remains straightforward, mirroring traditional credit card processing where you receive net fiat minus processing fees. Providers like BitPay and Pallapay facilitate this flow, allowing merchants to accept crypto without managing private keys or exchange risk [src-serp-5].
Direct holding (crypto settlement)
With direct settlement, the stablecoins remain in your business wallet after the transaction. You act as the custodian of the funds. This model is less common for standard retail but preferred by businesses that want to maintain exposure to the digital asset ecosystem or minimize conversion fees on high-volume transactions.
Holding stablecoins requires robust security infrastructure. You must manage multi-signature wallets, cold storage solutions, and internal controls to prevent theft or loss. While you avoid the spread associated with instant conversion, you assume the operational burden of crypto compliance. This path is suitable only if your finance team is equipped to handle digital asset accounting and security protocols.

Comparison of settlement models
The table below outlines the operational differences between auto-conversion and direct holding. Use this to evaluate which model aligns with your risk tolerance and technical capacity.
| Feature | Auto-Conversion to Fiat | Direct Crypto Holding |
|---|---|---|
| Volatility Risk | None (settled in fiat) | Exposure to asset fluctuations |
| Accounting Complexity | Standard (like credit cards) | High (crypto tax/accounting) |
| Security Responsibility | Handled by processor | Merchant manages keys |
| Conversion Fees | Included in processor fee | Minimal (network gas only) |
| Bank Integration | Direct deposit | Manual transfer required |
Select compatible hardware
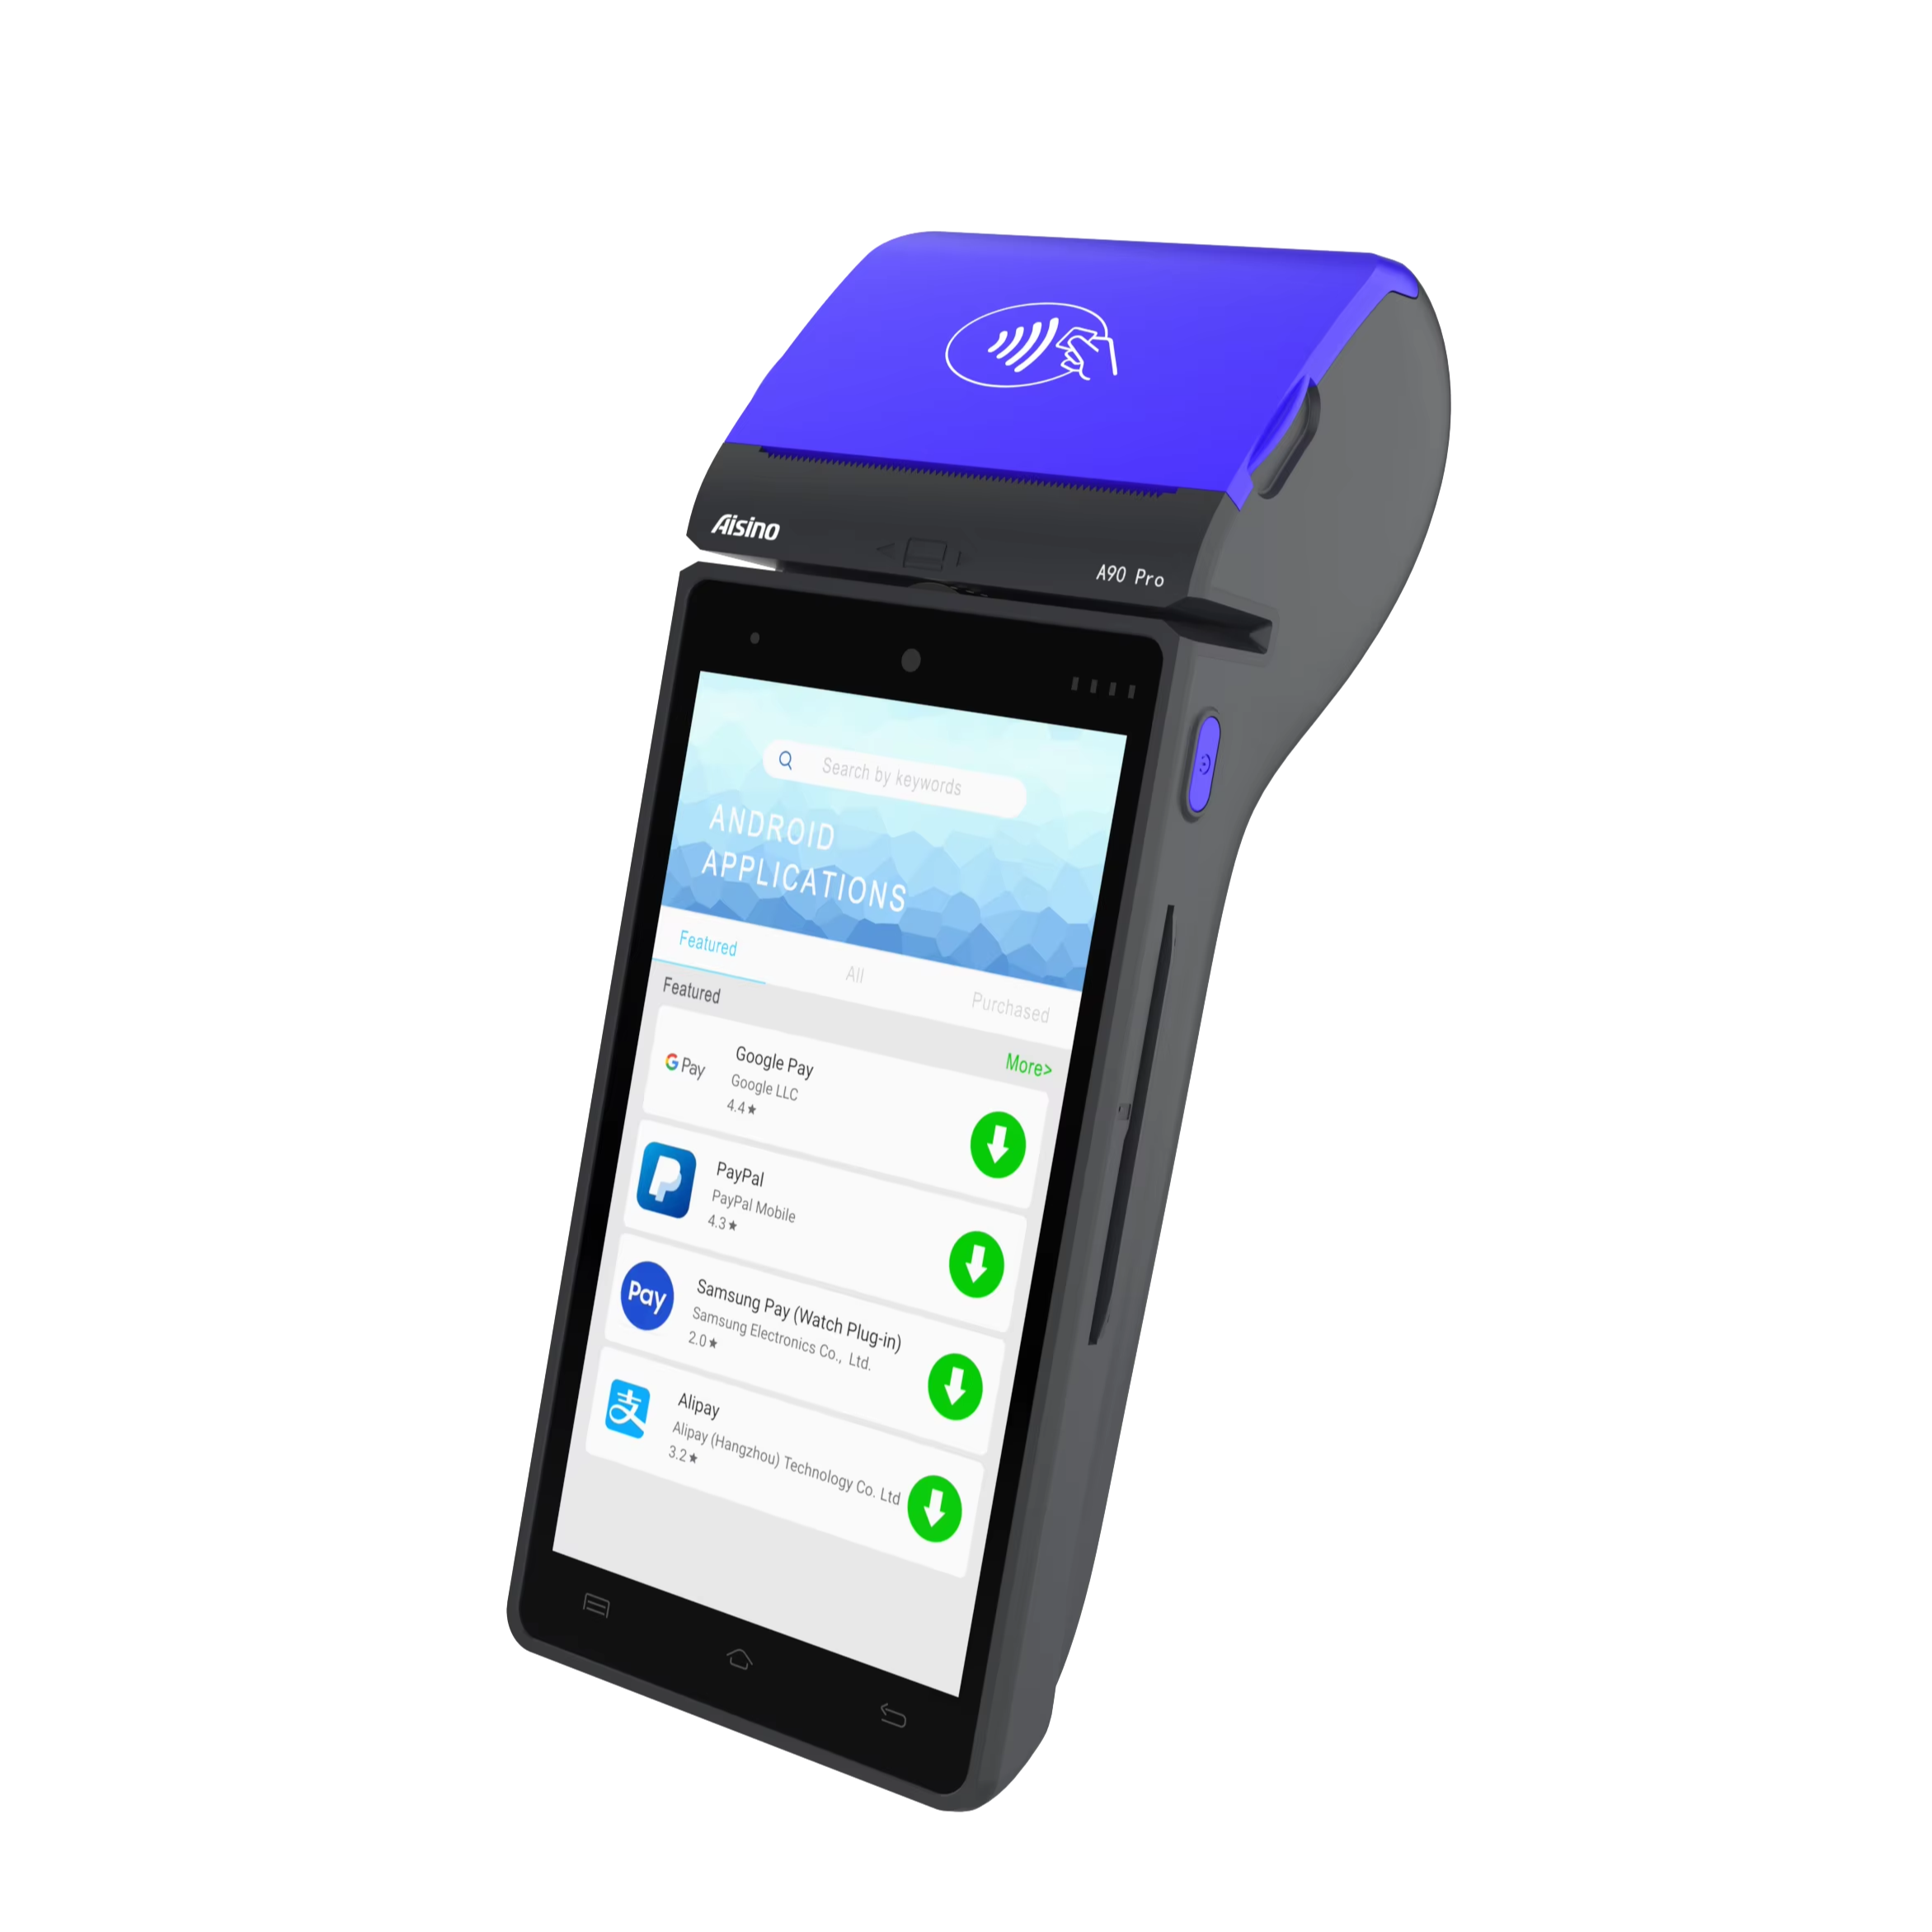
Your physical terminal acts as the bridge between the customer’s wallet and your business ledger. In 2026, a standard card reader is insufficient for stablecoin payments. You need hardware that supports both Near Field Communication (NFC) for tap-to-pay and QR code scanning for wallet-to-wallet transfers.
The most versatile terminals support multiple blockchain networks simultaneously. Look for devices that can process Lightning Network transactions for low-fee, instant settlements, as well as ERC-20 tokens for broader compatibility. This dual capability ensures you can accept USDC on Ethereum and USDT on Tron without needing separate devices for each chain.
When choosing a terminal, verify that the hardware supports the specific stablecoins you intend to accept. Some newer POS systems allow you to toggle between networks via software, but the underlying NFC chip must be compatible with the wallet standards used by your target customers. A terminal that only supports Bitcoin will not work for a stablecoin-focused business.

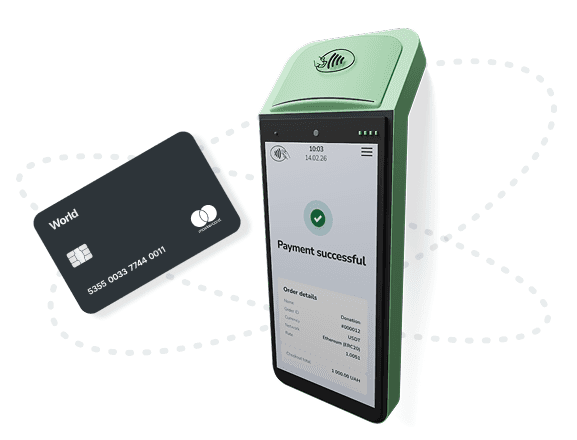
Prioritize hardware with clear visual feedback for transaction status. Since blockchain confirmations can vary in speed, a terminal that displays a simple "Success" or "Pending" indicator helps prevent checkout friction. Avoid proprietary terminals that lock you into a single ecosystem unless you are already committed to that provider’s entire payment stack.
Connect your POS to a stablecoin payment gateway
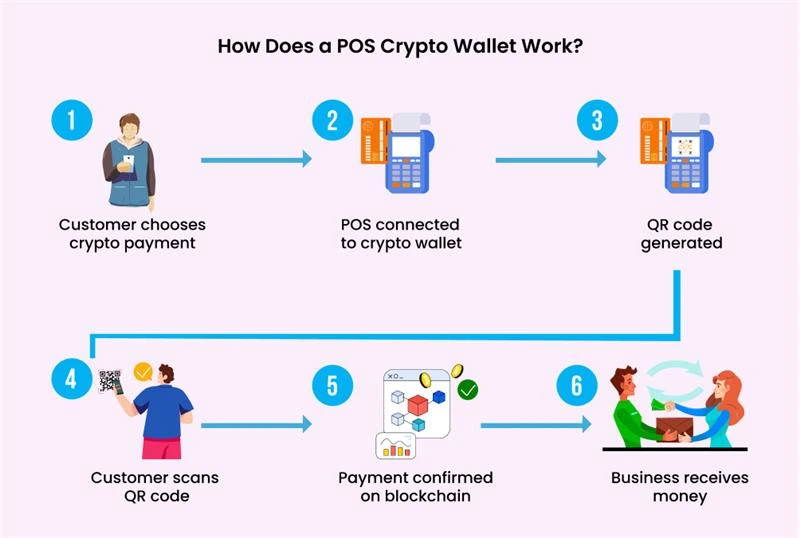
Integrating your POS software with a crypto payment processor is the bridge between your physical terminal and the blockchain. This step transforms your hardware into a system that can accept, verify, and settle stablecoin transactions without exposing your business to market volatility.
The process involves registering with a provider, installing their software plugin or API module, configuring webhook notifications for real-time updates, and running a test transaction to confirm the flow of funds.
Start by creating a merchant account with a stablecoin-friendly provider like BitPay, Pallapay, or CoinGate. During registration, you will submit business verification documents (KYC) to comply with financial regulations. Ensure the account is set up to support the specific stablecoins you intend to accept, such as USDC or USDT, and configure your preferred settlement currency if you want automatic conversion to fiat.
Install the provider’s integration module into your existing POS software. Most modern POS systems (like Square, Shopify, or Lightspeed) have dedicated plugins in their app stores that handle the connection automatically. If you are using custom hardware or a standalone terminal, you may need to integrate the provider’s API directly into your backend. Obtain your API keys from the provider’s dashboard and enter them securely into your POS configuration settings.
Set up webhooks to ensure your POS receives instant notifications when a payment is confirmed on the blockchain. Without webhooks, your system might rely on manual polling, which introduces delays and risks double-spending attacks. Configure the webhook URL to point to your POS server so it can automatically update the order status to "Paid" and trigger receipt generation or inventory updates the moment the transaction is verified.
Before going live, perform a low-value test transaction using a small amount of stablecoin from a personal wallet. Verify that the payment appears in your merchant dashboard, that the webhook triggered correctly, and that the funds settled as expected. Check your POS interface to ensure the customer receipt was generated and the inventory was adjusted. If any step fails, review the API logs or plugin settings before accepting real customer payments.
Once the test transaction succeeds, your crypto POS is ready for live stablecoin payments. This integration allows you to accept digital assets with the speed and certainty of traditional payments, leveraging the stability of stablecoins to protect your revenue margins.
Handle compliance and taxes
Accepting stablecoins introduces a dual regulatory burden: identity verification for anti-money laundering (AML) and tax reporting for digital assets. In 2026, the distinction between crypto and fiat is irrelevant for compliance; regulators treat stablecoin transactions with the same scrutiny as traditional wire transfers.
Set up KYC/AML checks
Before processing your first transaction, integrate a Know Your Customer (KYC) provider. Even for low-value stablecoin sales, AML laws often require identity verification for transactions exceeding specific thresholds. Choose a provider that automates screening against global sanctions lists.
Configure your POS to trigger verification requests only when necessary to maintain checkout speed. Use tiered verification: allow small, anonymous transactions up to a set limit, then require ID verification for higher amounts. This balances security with user experience.
Report sales tax correctly
The IRS treats stablecoins as property, not currency. Every transaction is a taxable event. When a customer pays with USDC, you must calculate the fair market value in USD at the exact moment of the transaction to determine your cost basis and any resulting capital gain or loss.
Use accounting software that automatically syncs with your blockchain wallet. Manual tracking is prone to error and can lead to significant penalties. Ensure your POS exports transaction data in a format compatible with tax software, capturing the timestamp, amount, and USD equivalent for each sale.
Consult a tax professional
The regulatory landscape for digital assets is evolving rapidly. What is compliant today may change tomorrow. Work with a tax professional who specializes in cryptocurrency to ensure your reporting methods meet current IRS guidelines. They can help you navigate complex scenarios like cross-chain swaps or stablecoin conversions.
Test the checkout flow
Before going live, you must validate the entire customer journey. A crypto POS is only as reliable as its final transaction. Use BitPay’s test mode or your provider’s sandbox environment to simulate a real purchase. This ensures your stablecoin integration processes payments correctly without moving actual funds.
Run through these specific scenarios to catch integration gaps:
Process a test transaction using a stablecoin like USDC. Verify that the payment status updates to "confirmed" in your dashboard and that the correct amount is recorded.
Check how long the transaction takes to settle. Ensure your inventory system updates in sync with the blockchain confirmation, preventing overselling during high traffic.
Initiate a full and partial refund. Confirm that the stablecoin returns to the customer’s wallet and that your accounting software reflects the reversal correctly.
A smooth checkout experience builds trust. If the process feels clunky or slow, customers will abandon the cart. Keep your testing rigorous to ensure a seamless experience for every buyer.
No comments yet. Be the first to share your thoughts!